Wood Shell
by PFozz
Pro : I like how it looks and how cheap it is to get the needed stuff 🙂
Cons : It’s not the easier thing to build and one of the needed material isn’t easy to find (flexible wood).
Material (shell only) :- Flexible wood.
– 1,6cm thick MDF.
– Covering material (real wood plating material, here).
– 2 screws.
– Wood glue.
– 6 lugs. Instructions :
Mesure how thick is your piece of flexible wood.
Calculate this : D = ShellDiameter – (2 * FlexiwoodThickness) – (2 * CoveringMaterialThickness) – 1mm
Remember this : if the diameter is just a little smaller than the expected one, you’ll still be able to mount a mesh head on it, but if it’s too large, you’ll get a useless shell.  Draw a circle (Diam = D) on the MDF.
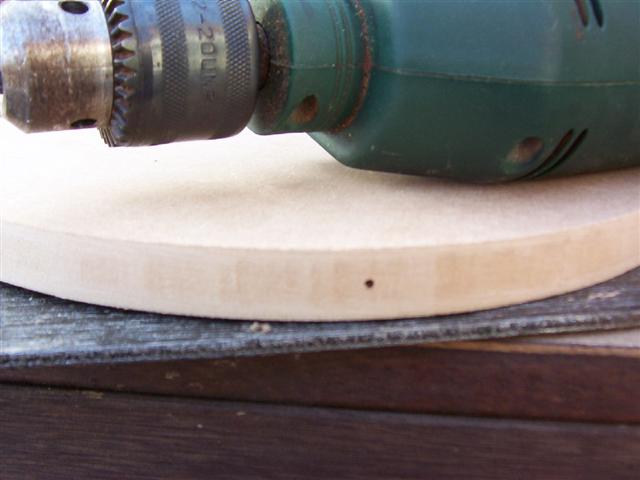
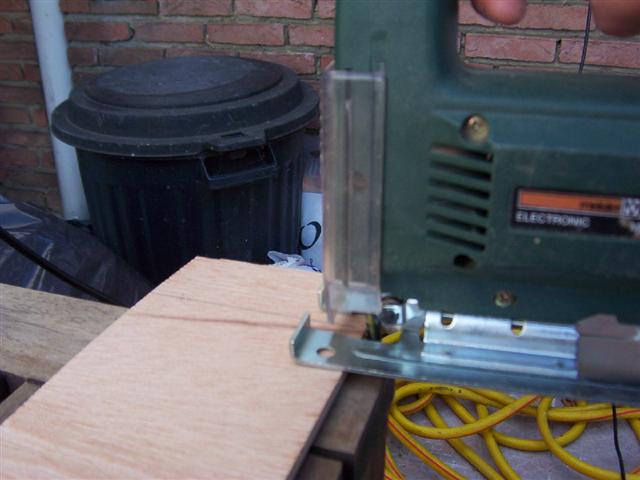
  Cut the piece. It’s not that easy to do. Take a deep breath before you start and do it SLOWLY 😉
This piece must be a perfect circle. Sand the edge to smooth it if needed.  Now you need to cut a piece of flexible wood.
Its width must be >=10cm (because of the lugs you’ll set on it later).
I don’t cut it myself. It’s easier to let the guy at the shop cut multiple pieces with his big machine for free 🙂
We don’t care about how long the piece is right now. Lets keep the original length safe.
See how Flexible wood is… flexible 🙂  Prepare a “room” for the head of a first screw, (MDFThickness / 2) from the edge of your flexiwood piece.
  Drill a hole at the center of the previously prepared ‘screw room’.
 Drill a hole in your piece of MDF (put the previously drilled piece of flexible wood on the edge so you know where to drill).
 Put some wood glue on a screw and drive it thru the prepared holes / room (using a screw driver and not a hammer ^^)
  Use a pen or something to define how long must be your piece of flexiwood.
  Use a square to draw a line and cut your piece of flexiwood along it.
  Prepare holes / room for the second screw (both holes in a row).
  Put some wood glue all along your piece of flexiwood. Use a brush or a piece of paper to make sure there’s glue everywhere it is needed.
  Put everything together (“roll” the flexible wood), and clean the remaining extra wood glue with a wet clothe.
  Use some wood glue and the stuff you can see on this picture in order to get a perfect circle.
Important : make sure there isn’t glue between the ‘shell’ and the other pieces of wood that are used to maintain everything in place !
If you want to highly secure your shell, glue the extra piece of flexiwood inside the shell (just cut it before so it’s not “higher” than the edge of your shell ^^).
Let everything dry for at least 24h.  Put your covering material. Real wood plating isn’t
that easy to fix on a round something ! Special PVC drums covering are easier but more expensive (and don’t look the same, of course)
If you don’t feel confident doing this, you may also sand the flexible wood and finish it as-is.  Put a piece of paper around the shell, and fix both ends together (use some tape) to get a circular piece of paper.
Remove the paper and use it to define where you’ll have to drill holes in the shell in order to fix lugs.  Put back the paper around your shell and drill
holes for the lugs.  Finish your shell, let the finishing stuff dry and fix the lugs.
Your shell is ready for the next step !
All you’ve got to do is mounting a trigger inside as you would do to convert an acoustic tom/snare 🙂 Best.
www.eareckon.com
Please log in to read and reply to this topic.
No products in the cart.
Get all the latest on new releases,
updates and offers directly to your inbox.
Note: By clicking the 'I WANT IN' button, you will not be creating a Toontrack user account. You will only sign up to get our newsletters, offers and promotions to your inbox. You can unsubscribe at any time from a link at the bottom of each email. If you want to learn more about our privacy policy, please find detailed information here.

